How to use fishfinders

Al McGlashan
Fishfinders are essential kit for successful anglers.

Modern fishfinders can tell you the type of seabed as well as identify bait schools and estimate the size of individual fish. They can mark individual fish at various depths, scan around the boat for up to a mile, and even provide live pictures so you can watch the fish eat the bait.

Fish aren’t evenly spread – they’re found in small pockets in the water – so fishing can be like trying to find a needle in a haystack if you don’t have a decent fishfinder.

Having the right tech is one thing, but knowing how to use it properly is another. The reality is that few anglers know how to fully operate their fishfinders, and I suspect most anglers know little more than how to turn the unit on and run it in auto mode. It seems the technology has outpaced anglers and it’s becoming a real skill to utilise a modern unit to its full capabilities. You need to get seriously geeky to understand fishfinders. 

How fishfinders work

The way a fishfinder works is actually very simple. The transducer sends a pulse down that bounces off anything it hits. The denser the target, the stronger the return signal, and the better it will appear on the screen. By dense, I mean rock or even metal like a shipwreck – sand and seagrass beds will show a soft return.

While metal and rock give a solid return, so too does air, which is why it’s imperative your transducer is installed in the right place and is not affected by aeration beneath the hull.

The transducer picks up the signal and sends it up to the fishfinder for processing. How the computer in the unit processes the picture is critical to the end product, and the more you can manipulate the variables to maximise the image, the easier it will be to read.

Fish are denser than water and show up as a distinct mark or arch, depending on your device. The reason you get the arch is because the sounder beam is cone shaped and, using basic trigonometry, the edges of the cone are longer than the centre. As a result, when a fish passes through the beam the image appears to rise up and then drop down again – hence the arch shape.

Some anglers believe it’s the fish’s swim bladder and that sharks don’t actually mark up because they don’t have swim bladders – however, I can categorically confirm that this is an old wives’ tale.

Modern fishfinders can cover a large search area.

Fish ID

The best thing you can do is turn off ‘Fish ID’ mode. I’m not a big fan of it, although admittedly the technology is improving. People like to see lots of fish on their screens and fish ID mode certainly ticks that box, reading anything that returns as a fish.

Your best tool is your own knowledge and experience when it comes to this feature, and being able to distinguish between a fish, jellyfish or weed is something you will learn very quickly.

Turning off the Fish ID function lets the angler interpret the picture – here, a school of striped marlin charge up to the skip baits.

Transducers

An essential step is to first pick the right transducer to suit your needs. Think about where and what you are fishing for, and at what kinds of depths.

The basic difference between transducers is power. Like a car, the bigger the engine, the more powerful it will be.

A 300W transducer is like an electric bike – it will get you around town but it has no grunt. This type of transducer is best suited to shallower water like lakes and estuaries.

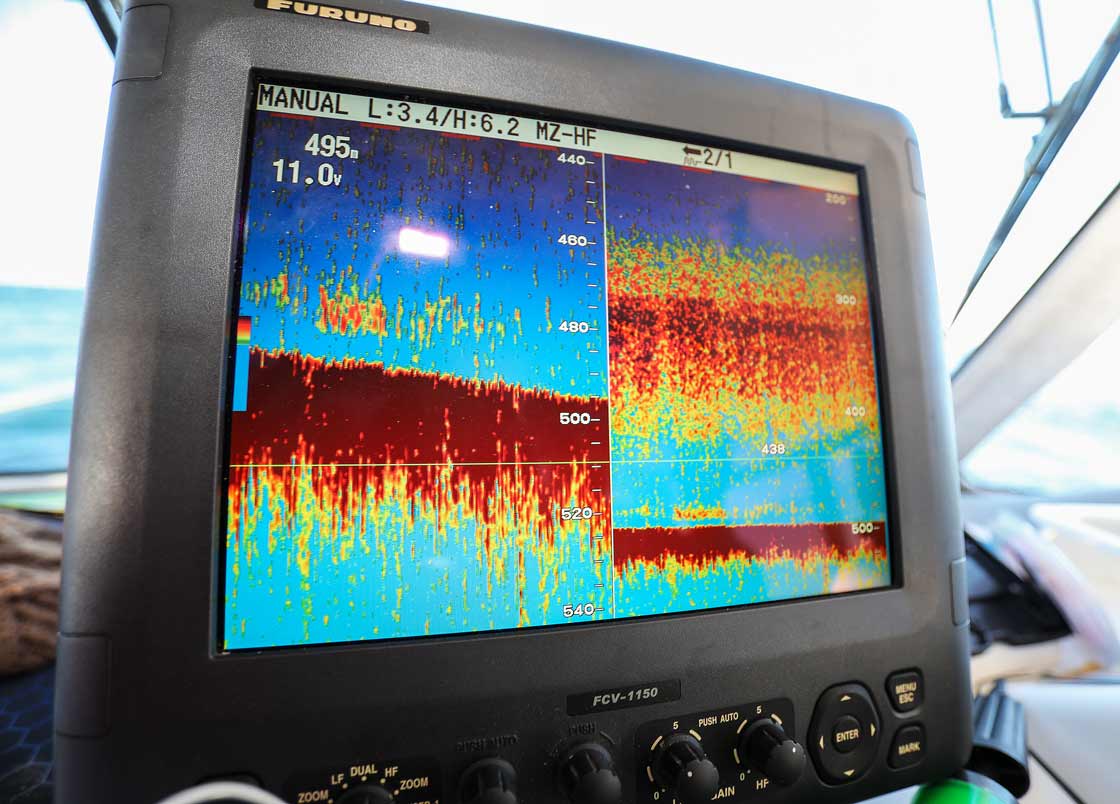
A 1kW transducer is more powerful and will work out to the shelf and beyond, but it still won’t always read detail if you’re deep-dropping for the likes of blue eye.

If you want to go deep, then a 2kW or even 3kW transducer will punch the signal down deep.

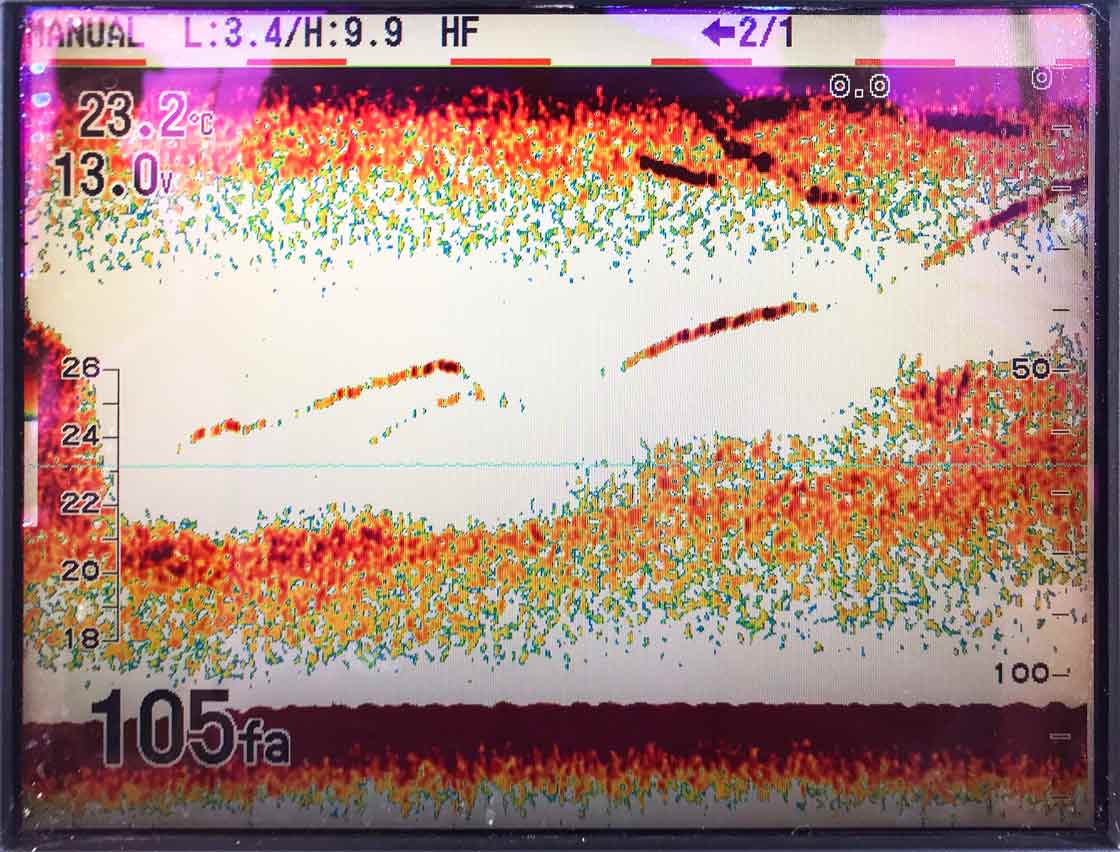
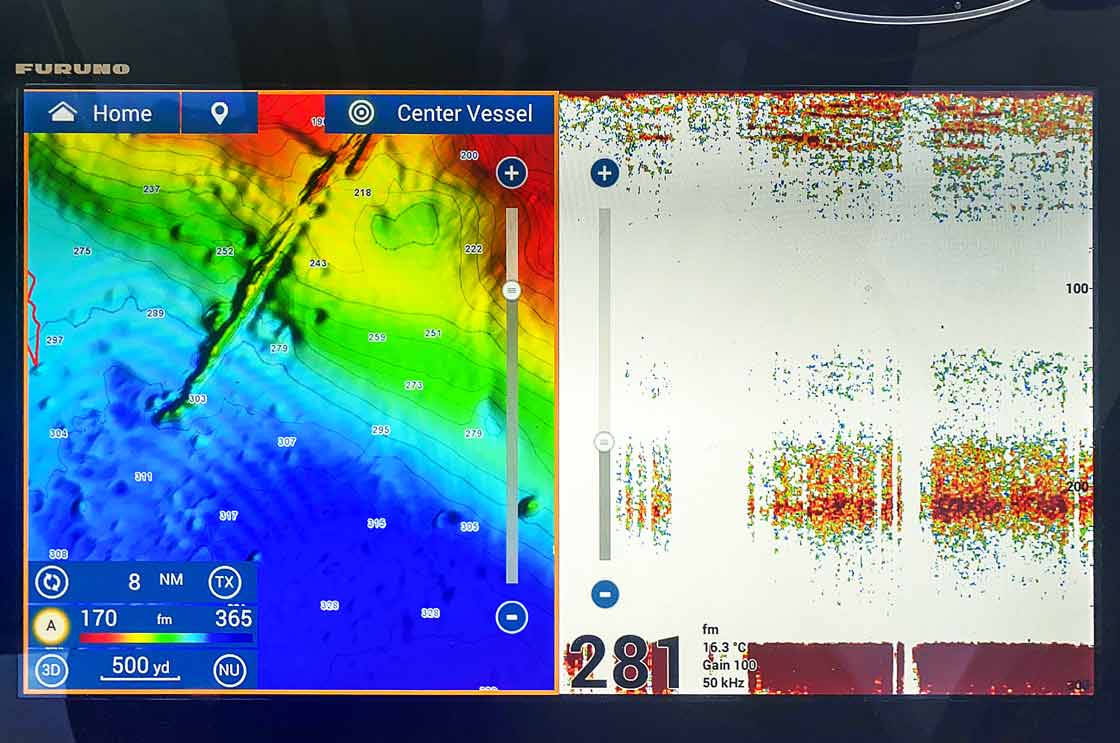
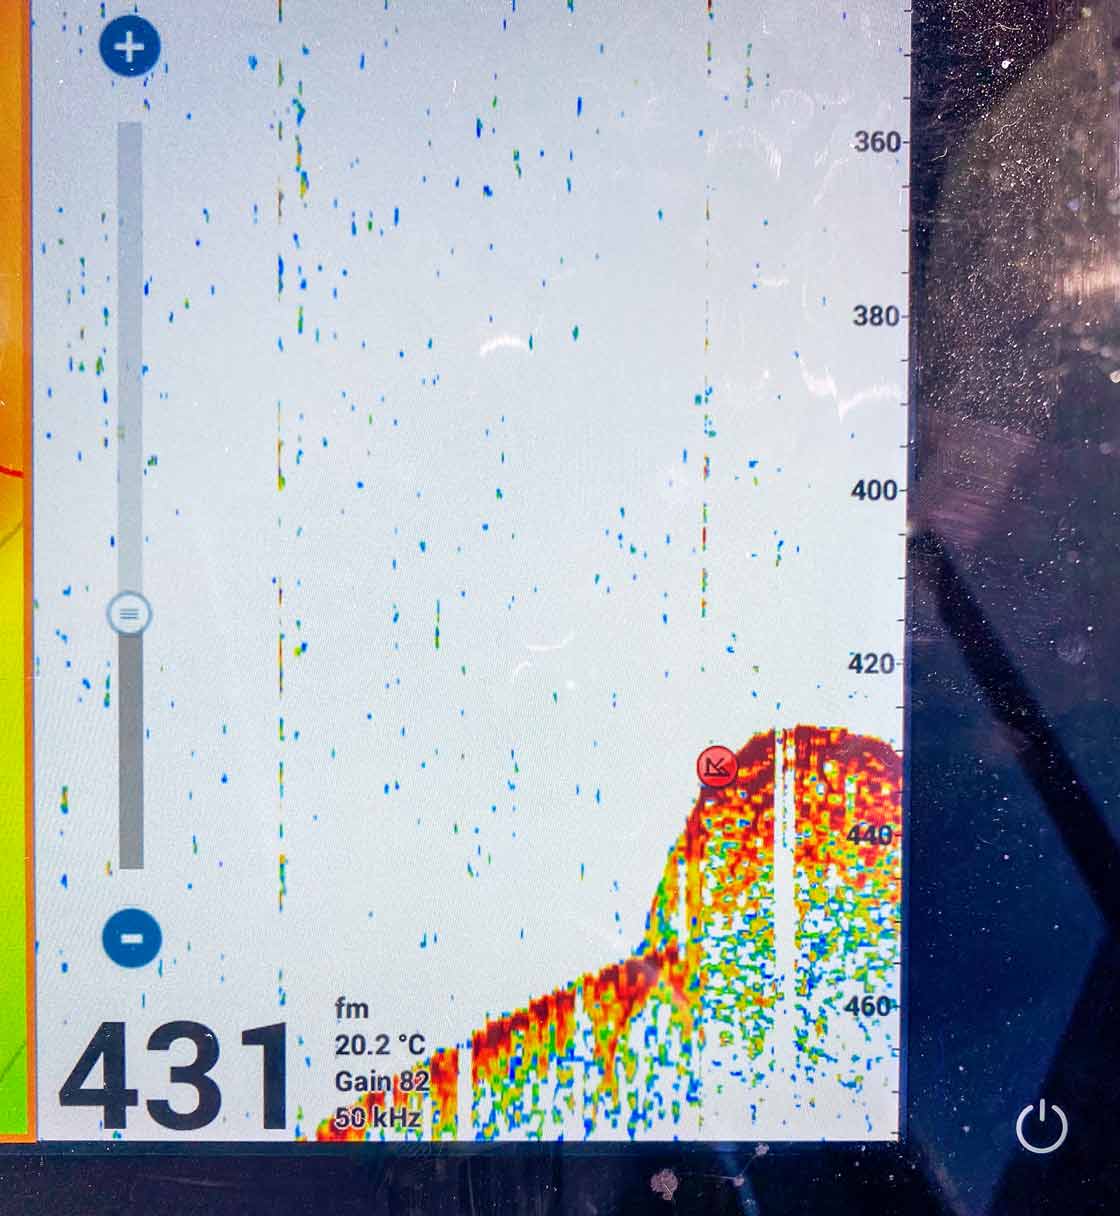
There are different frequencies and variations in beam width as well. For example, a 200kHz beam is a wide beam that covers a greater area to pick up more information and fish. A narrow beam like 60kHz will punch deeper but, being thinner, won’t capture as much data.

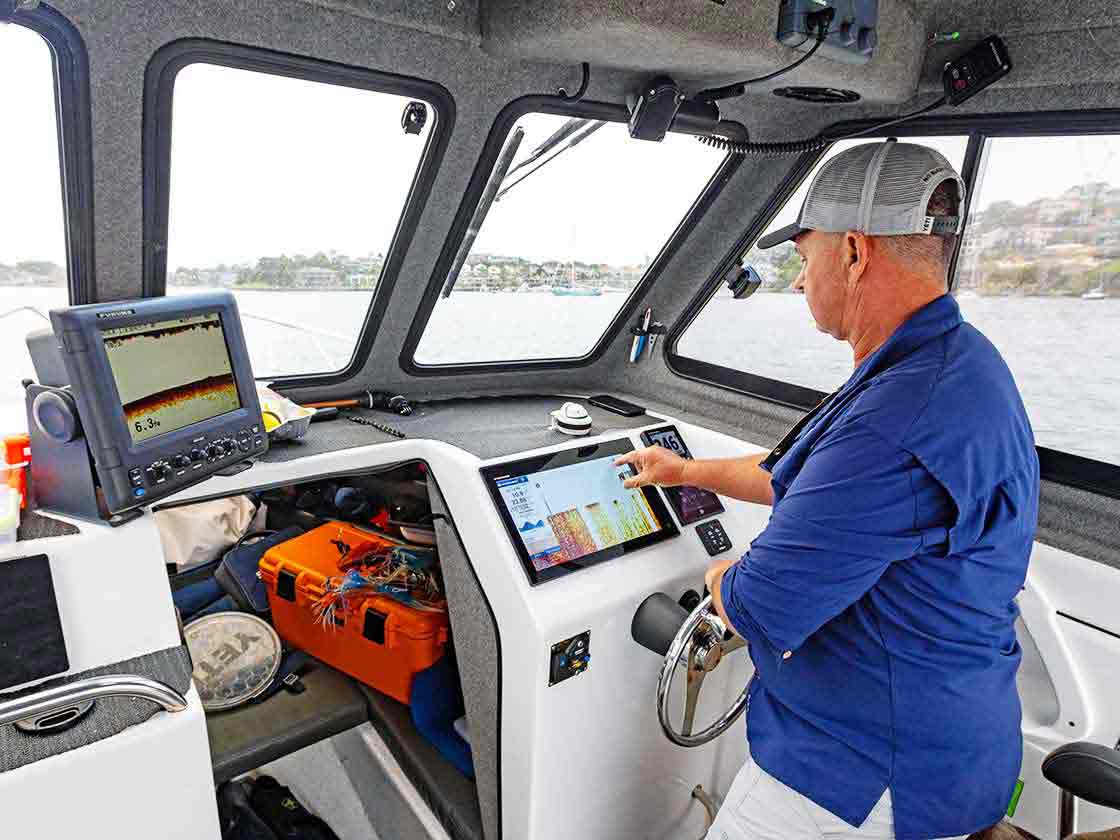
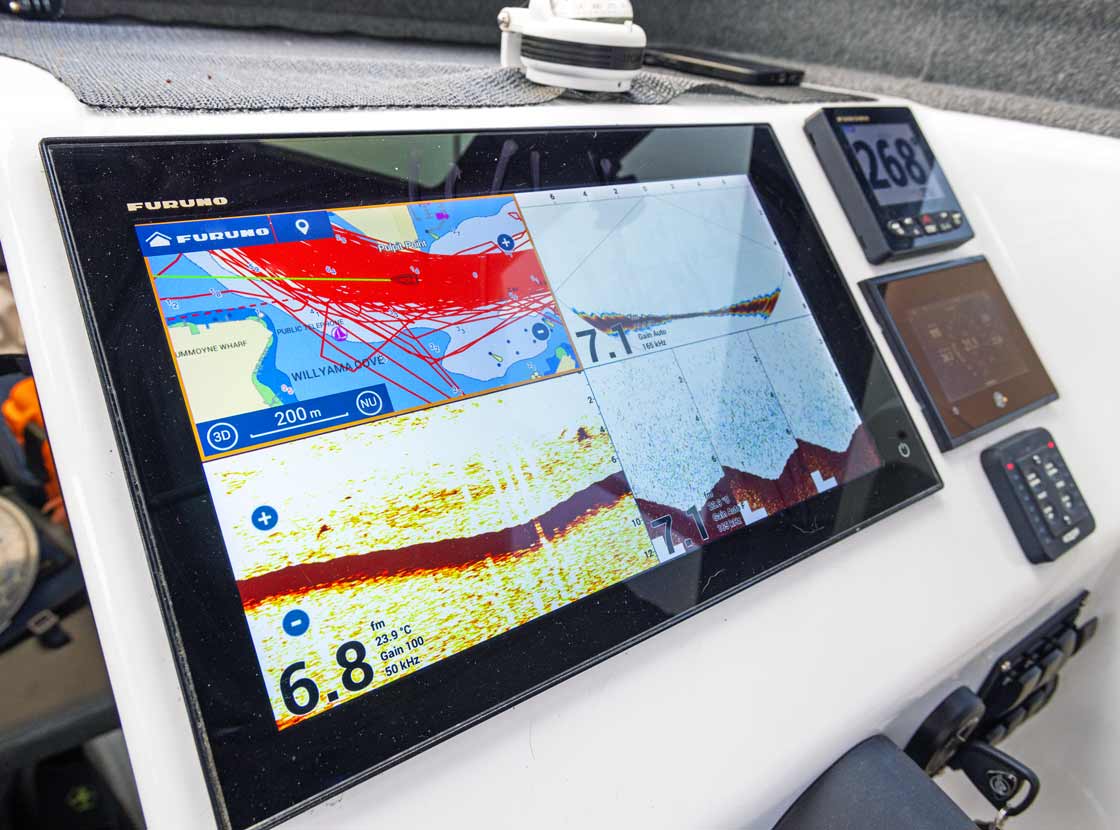
All of this means that you need multiple transducers if fishing offshore and inshore. To give you an idea, in my Northbank I run four transducers and two Furuno screens: SS175HW is my wide angle to find predators and bait, while SS175L and 82B are all about marking the bottom in water a kilometre deep. The final transducer is a WASP, a super-wide version that maps the bottom and helps to find bait over a larger area.

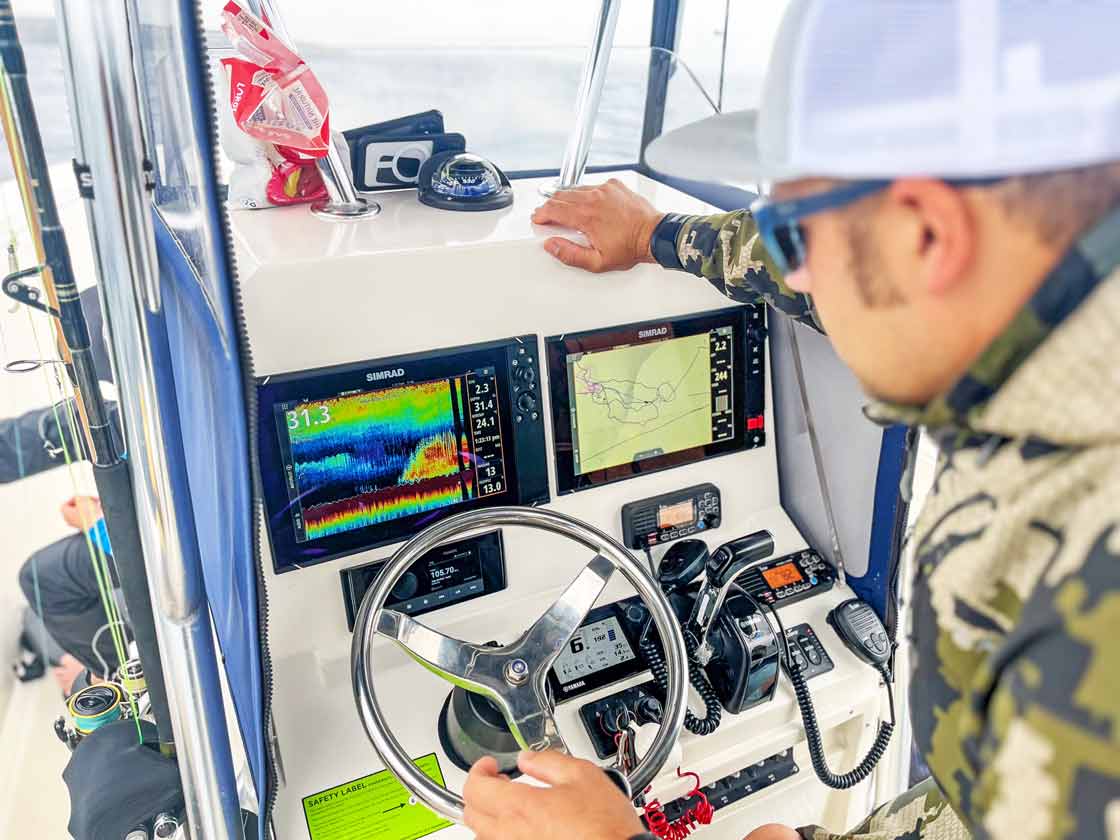
Also consider where the transducers are mounted on the hull. If they get any interference then it doesn’t matter how much you spend on the unit, you won’t get a decent read. This is the single biggest problem most anglers have with their transducers.

Research the best place on the hull and be aware that every hull differs. By all means, consult with any community social pages for your boat type, but don’t just accept one opinion. I strongly advise you speak to experts as well. 

Tuned right, a fishfinder can find bait half a kilometre down.

Learning to use your fishfinder

Reading the instructions or watching tutorials on YouTube will really help you learn about your unit. Think about it, if you invest a few thousand dollars in a decent unit then you need to know how to use it properly to get your money’s worth. There is little point spending $4000 but only utilising $500 worth of its capabilities.

First step, turn off auto mode. In auto, your fishfinder’s computer is set to specific parameters that don’t necessarily suit your conditions.

If you’re serious about using it, you need to fine-tune your unit to maximise its capabilities. You need to manually change depth, adjust the gain and even the TVG (time variable gain) to get the best possible reading. 

Set up your fishfinder and pay close attention to it.

Gain control

The gain control is critical as it varies the amount of information displayed on the screen. If you’re old-school like me, you use units with a dial, as opposed to buttons, so you can tweak it to get the perfect picture.

A balance where there is enough gain to get the right amount of information without too much interference on the screen is ideal.

A common problem is that people want perfectly clean pictures, but that means you’re sacrificing vital data. A screen with lots of information may look dirty, but you will get all the information you require.

When you set the gain right, a good fishfinder will mark bait and fish clearly, and will even pick up the thermocline, shown as a thin fuzzy line. To do this, you need to keep the gain control on manual and constantly change it according to the environment to maximise your picture.  

Colour palette

Changing the colour palette on your unit can really help you define your picture more clearly.

When chasing marlin around bait concentrations, I like to run almost a full spectrum of colours – ­­the green edges indicate feeding bait, while the hard red edges tell me the bait is dense because a predator is pushing up against it.

When I’m tuna fishing or sounding for snapper, I reduce the colour spectrum by as much as 50 per cent on my Furuno, reducing the greens and blues out – the big fish will show up red. Slowly sounding over the seabed, snapper will show up as solid arches, but small fish will be largely missed. 

Splitting the screen and zooming in on specific parts of the water column is one of many features at your disposal.

Full screen and zoom

Avoid running your screen on ‘auto range’ – the bigger the screen, the better the picture and the more detail, so why would you run the unit where the bottom is halfway up the screen.

Run the unit on manual range so you can physically change the range to suit the depth. If I’m fishing in 100m, I set the unit at 110m, which gives me the best-possible picture. The only time I run my sounder in auto range is when I’m running between spots.

Another important function on the sounder is the zoom facility, and most serious fishfinders can zoom in on a specific depth.

Enlarging the search area is great when you’re targeting specific species in deep water. If you still want to monitor the whole water column as well, you can split the screen and zoom in on one side, but have the whole picture on the other.

I have been zooming in on the Furuno 295 on recent swordfish trips in 600m of water and it’s deadly.

 Zooming in to the bottom requires power and precision, and the ability to tune your fishfinder right in.

Eyes underwater

I have barely scratched the surface of what’s possible because fishfinder technology is screaming along. We now even have side-scan units that anglers are using to great effect on jewfish, to the point that they’re spotting individual fish and casting to them.

There is top-of-the-line sonar that allows you to mark bait schools up to five nautical miles away, but they’re not cheap. Not to mention live view, which is being used in impoundments, scanning snags for fish and then dropping a lure on their nose and watching them eat it.

There’s no doubt fish are getting harder to catch, but technology is constantly improving and taking the guesswork out of catching. One thing I can guarantee is that the more time you spend looking at your screens, the more fish you will see.

Using a livescope system lets you see the fish move in real time and even watch them eat the lure.
Give us a call on 1300 00 CLUB (2582)
Any discounts offered are applied to our standard rates. Promotional or other discounts may apply from time to time. Minimum premiums may apply. Any discounts/entitlements only apply to the extent any minimum premium is not reached. If you are eligible for more than one, we also apply each of them in a predetermined order to the premium (excluding taxes and government charges) as reduced by any prior applied discounts/entitlements.

Any advice here does not take into account your individual objectives, financial situation or needs. Terms, conditions, limits and exclusions apply. Before making a decision about this insurance, consider the Product Disclosure Statement (PDS)/Policy Wording and Supplementary PDS (if applicable). Where applicable, the PDS/Policy Wording, Supplementary PDS and Target Market Determination (TMD) for this insurance are available on this website. We do not provide any form of advice if you call us to enquire about or purchase a product.

Club Marine Limited (ABN 12 007 588 347), AFSL 236916 (Club Marine) issues this insurance and handles and settles claims as agent for the insurer Allianz Australia Insurance Limited (ABN 15 000 122 850) AFSL 234708 (Allianz). Club Marine is a related body corporate of Allianz. Copyright © 2024 Allianz Australia Limited